Tinyblast
Adding Functionality to the Maya Playblast Workflow
Why I Created Tinyblast
Playblasts are an invaluable feature in Maya, allowing animators to quickly render their viewports for previews, client reviews, and iterative feedback. However, Maya’s default playblast system presents a major problem for Windows users. Since Apple discontinued support for QuickTime on Windows in 2016, Maya users are forced to rely on the archaic .avi file format with outdated and unmaintained codecs.
This results in two problematic scenarios:
- Massive file sizes when using the default playblast settings, which can slow down workflow and make file sharing cumbersome.
- If users tweak the settings, they can only achieve slightly smaller file sizes, often with poor video quality, and even then, many of the available codecs don’t work consistently.
As a Teaching Assistant for an introductory animation class, I noticed that many students were just getting started with Maya and playblasting. While I was familiar with using FFmpeg to convert and compress files, I realized that not all students had experience with file formats or video compression, which added an extra learning curve to an already complex toolset.
To help bridge that gap, I created Tinyblast. The goal was to make playblasting more accessible by integrating the solution directly into Maya, so students and beginners could easily export their playblasts into modern file formats, like .mp4, without needing additional software or technical knowledge.
For Version 2.0.0, I am basing the look and settings of the Tinyblast Options window on Maya’s default Playblast Options window. This allows new users to get accustomed to Maya’s interface and workflow while still offering the added benefits of Tinyblast’s extended functionality. By providing a familiar environment, Tinyblast helps students learn the core principles of playblasting while also streamlining their workflow.
Other Solutions
During my research, I came across two similar plugins: DuBlast for Maya and Zurbrigg’s Advanced Playblast. While both offer useful features, I chose to create my own plugin for a few specific reasons.
First, Advanced Playblast is a paid plugin, and since I’m developing this tool primarily for college students, I didn’t want to require them to purchase software. Additionally, Advanced Playblast includes many advanced features that, while powerful, are unnecessary for the use case of students who are just learning Maya.
On the other hand, DuBlast is free and open-source. However, it only supports exporting playblasts in .mp4 format and includes additional features that can be overwhelming for beginners. I wanted to ensure that Tinyblast remained as accessible as possible for users who are new to Maya and unfamiliar with video formats and codecs, while still offering the flexibility to expand in the future.
What Tinyblast Does
At its core, Tinyblast integrates directly into Maya’s Playblast Options window, adding a button that converts the uncompressed .avi files that Maya generates into .mp4 format using the efficient H.264 codec. This drastically reduces the file size without compromising the visual quality, making it easier to store, share, and review playblasts.
For version 2.0.0 beta, Tinyblast expands its functionality to support additional formats such as:
- .mp4
- .mkv
- .mov
- .avi
- .webm
This update will also introduce support for multiple codecs per format, giving users flexibility based on their needs, whether they prioritize file size, compression speed, or visual quality. Tinyblast is designed to grow with its users, with plans to add more formats and codecs as needed in the future.
An Example of Tinyblast in Action
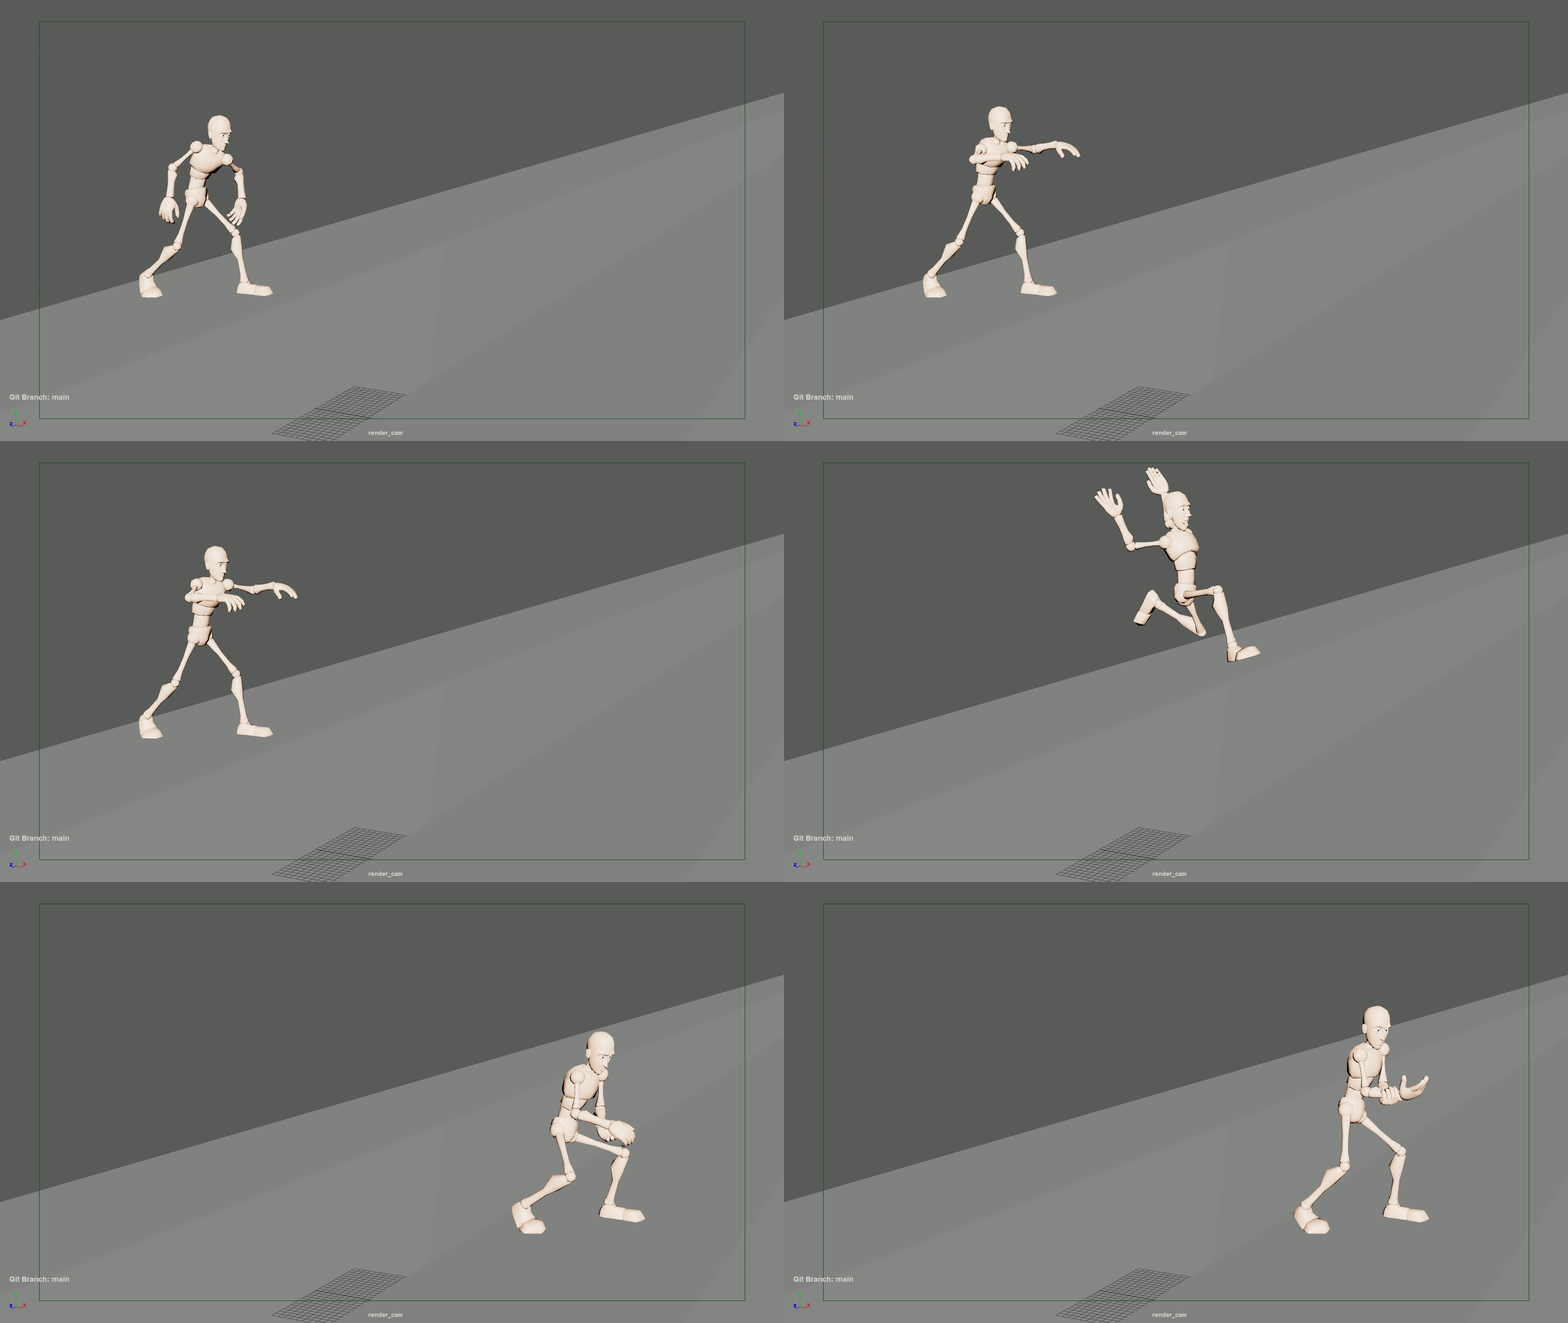
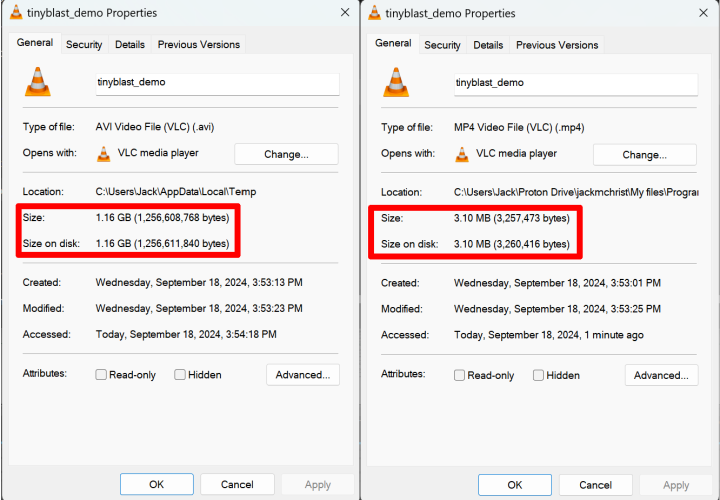
Here’s an example of Tinyblast at work. Below is a .gif of a Tinyblast I created in Maya. After that, you can see the properties for both the default Maya playblast settings (on the left) and Tinyblast’s default settings (on the right). Using Maya’s default settings, the eight-second animation resulted in a 1.16GB .avi file, while Tinyblast, with its default settings, produced a 3.10MB .mp4 file—a massive reduction in size without sacrificing quality.


Key Features
Version 1.0.0:
- Seamless Integration: Tinyblast adds a single button to Maya’s Playblast Options window, allowing users to quickly convert uncompressed .avi files to .mp4 format using the H.264 codec.
- Automated Save Location: The converted .mp4 file is automatically saved in the same directory as the Maya scene file, removing the need for users to manually specify output paths.
- Modern Compression: Utilizing H.264 ensures efficient compression, drastically reducing the file size compared to Maya’s default uncompressed .avi files, making it easier to share and store playblasts.
Version 2.0.0:
- Tinyblast Options Window: Adds a dedicated Tinyblast Options window created in Qt6 using PySide6, allowing users to choose from a wider range of file formats such as .mp4, .mkv, .mov, .avi, and .webm.
- Customizable Codecs: Users can now select different codecs (e.g., H.264, H.265, VP8, VP9, and more) depending on their needs, offering flexibility in file size, quality, and compression speed.
- Custom Save Path: Allows users to specify a custom output path for their playblasts, providing more control over file organization.
- Advanced Settings: Version 2 also integrates other default playblast options, enabling users to adjust parameters such as resolution, frame range, and quality, offering a comprehensive playblast setup tailored to their specific requirements.

On the left is the Tinyblast Options window from Tinyblast v2.0.0-beta, and on the right is Maya’s Playblast Options window. I designed Tinyblast’s options window to closely resemble Maya’s built-in version, making it more familiar and accessible for users who are still learning Maya or who may be unfamiliar with video file formats and codecs outside of playblasting. Although they look similar, the Tinyblast window was built entirely from scratch using Qt6 and PySide6 to seamlessly integrate into Maya.
Future Plans
I’m currently developing Tinyblast version 2, which introduces a new Tinyblast Options window. This will give users extra control over their playblast settings, providing a more flexible and user-friendly interface. The new options window is designed to resemble Maya’s default Playblast Options, making it intuitive for both new users and seasoned animators.
Looking ahead, I’m planning to overhaul the core functionality of Tinyblast by directly rendering and encoding from the viewport, bypassing Maya’s default playblast command. This will allow Tinyblast to offer a more streamlined and efficient workflow. Currently, Tinyblast relies on Maya to generate the initial playblast, which is then re-encoded and compressed into the final format. By handling the rendering and encoding internally, Tinyblast can reduce processing time and provide even more customization options.
I’m also exploring the addition of advanced playblast features such as custom playback speeds, burn-ins, enhanced camera settings, and intelligent automation. For instance, Tinyblast could automatically adjust playblast settings based on render configurations, ensuring optimal output without manual tweaks. These improvements aim to make Tinyblast a comprehensive tool for animators and VFX artists, providing a seamless and powerful solution for creating high-quality playblasts directly within Maya.
Reflections and Learnings
Creating Tinyblast has been an incredibly rewarding experience that helped me deepen my understanding of Maya plugin development, UI design, and integrating third-party libraries like FFmpeg. Although this is my second Maya plugin, it was far more complex than my previous project, and I learned a lot in the process.
Maya Plugin Development
My journey into Maya plugin development started with my first, simpler plugin, which gave me the basic knowledge of how to interact with Maya’s API and how to extend its functionality using Python. However, with Tinyblast, I had to dive much deeper into Maya’s internal systems. This project required me to work with Maya’s OpenMaya framework, understanding how to properly integrate custom features into existing workflows while ensuring that my plugin was easy to use and seamless for the end user. I also learned how to handle Maya’s Playblast Options more effectively to give users control over the output formats and file locations.
Through this process, I gained a better understanding of Maya’s event-driven architecture and how to manage MEL commands from within Python, which improved my ability to control Maya’s environment programmatically.
Learning Qt6 and PySide6
To provide the best possible user experience with Tinyblast, I realized that I needed a custom UI beyond Maya’s native options. I decided to learn Qt6 and its Python bindings through PySide6 to create the Tinyblast Options window in Version 2.0.0. This allowed me to design a window that not only mimics Maya’s Playblast Options but also adds enhanced features, such as the ability to select formats, codecs, and customize output paths.
Learning Qt6 was a significant step for me, as it introduced me to a new paradigm for building GUIs. The process of designing with Qt’s widgets and integrating them into Maya taught me how to create responsive, dynamic UIs that blend seamlessly with existing software. I also learned how to handle signals and slots in PySide6, which provided an elegant way to manage user interactions and events within the custom window.